Google Photos is a popular cloud-based service that allows you to store and back up your photos and videos. It offers a seamless way to access your media files across various devices. However, with limited storage capacity on most smartphones, it’s crucial to choose which folders to back up in Google Photos on your Android device. By selectively backing up folders, you can optimize storage usage and ensure that only the most important and cherished memories are securely stored in the cloud.
How to Choose Which Folders to Back Up in Google Photos on Android
We’ll guide you through the process of selecting specific folders to back up in Google Photos on your Android device.
Step 1. If you haven’t already installed the Google Photos.
[appbox googleplay screenshots com.google.android.apps.photos]
Step 2. Open the Google Photos app and tap on your profile image.
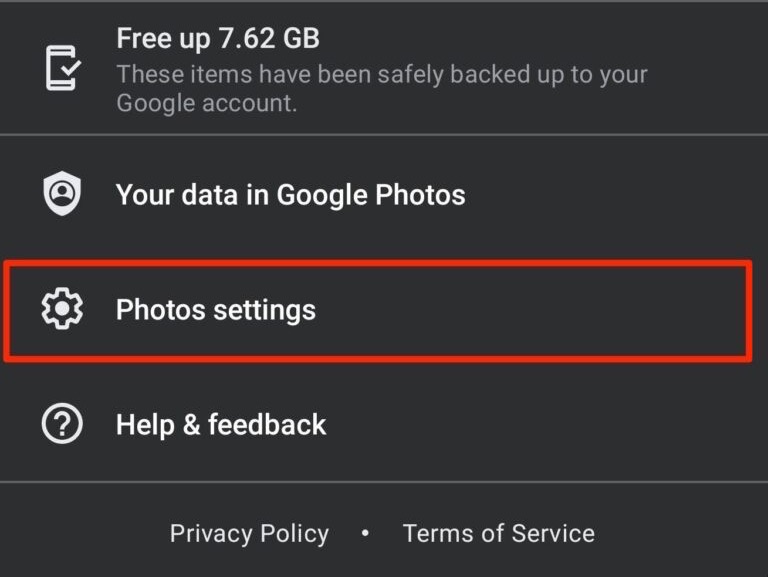
Step 3. Now, tap on the Photos settings option.
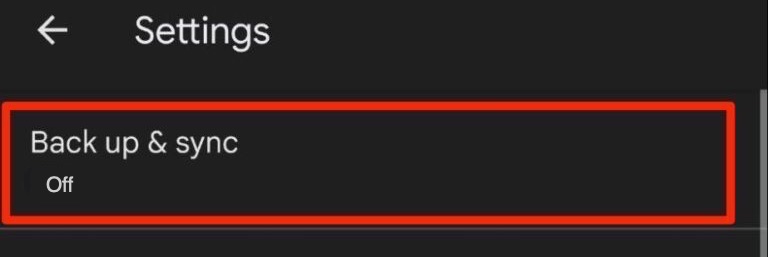
Step 4. The first option you will see would be Back up & sync; click it.
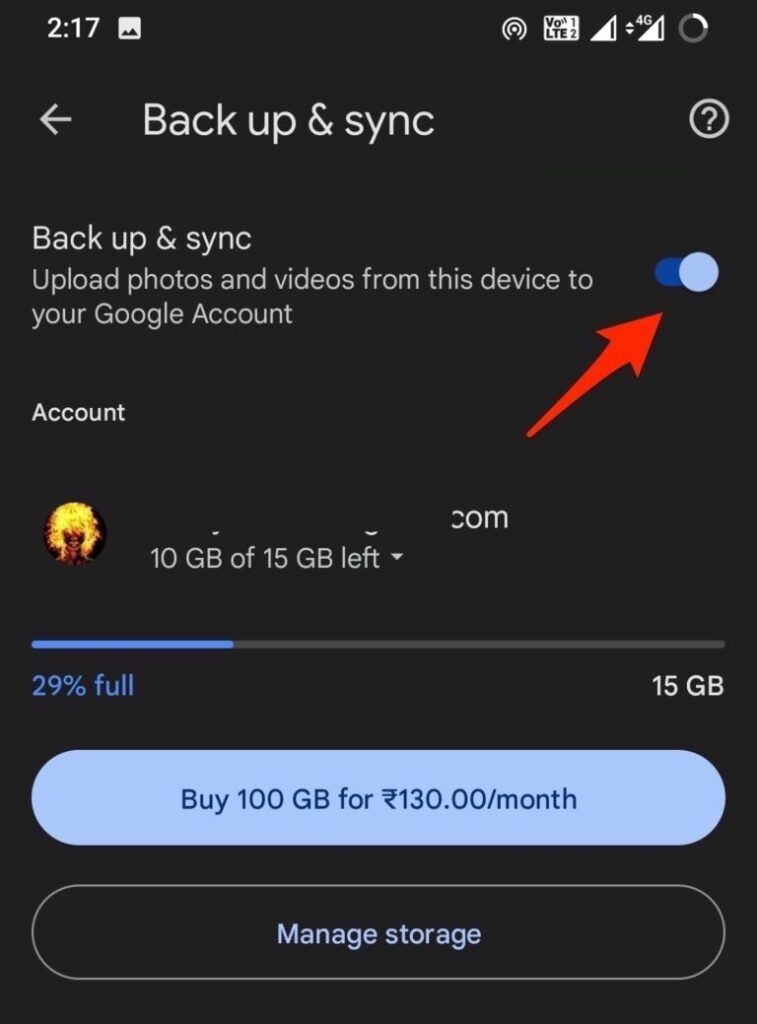
Step 5. Enable the toggle to turn ON the backup process.
Step 6. Now at the bottom tap on Back Up Device Folders.
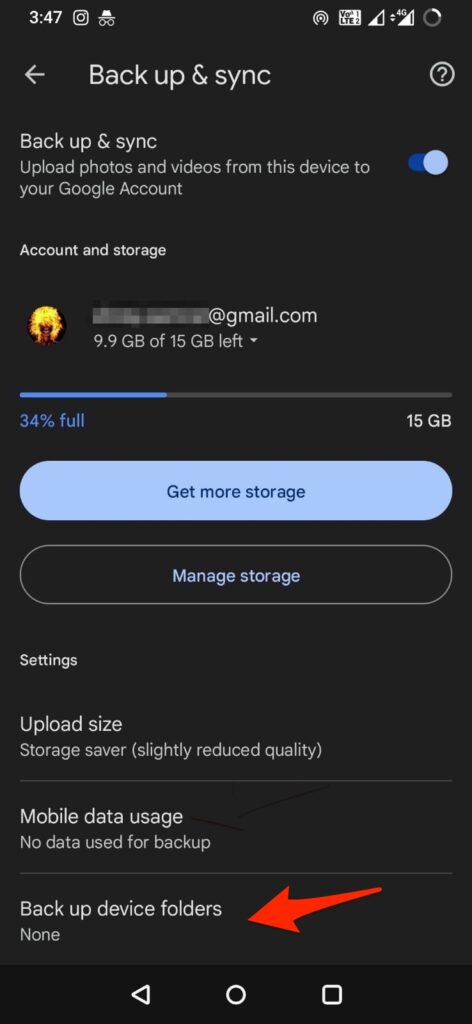
Step 7. Here Toggle ON the folders from which you want to auto-upload the photos and videos.
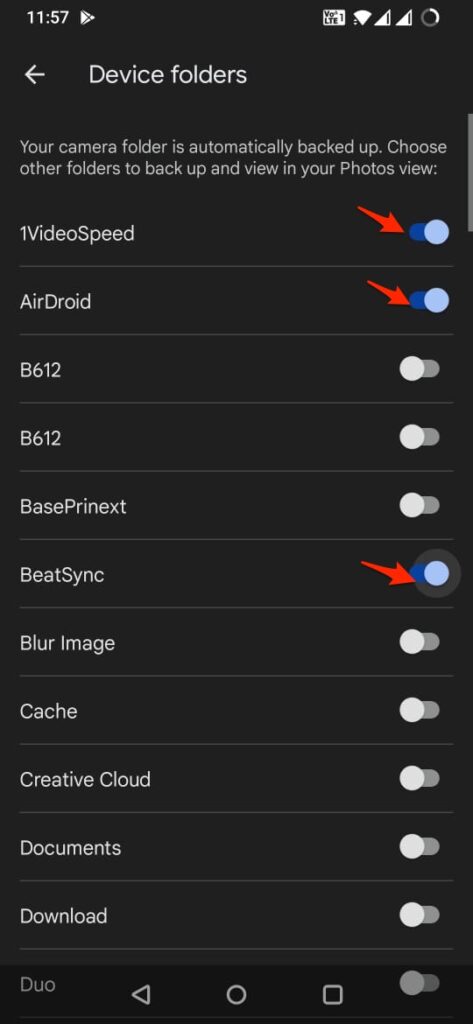
That’s it all the photos and videos inside the selected folders on your Android mobile are uploaded to Google Cloud Storage.

How to Backup PC Photos and Videos to Google Photos?
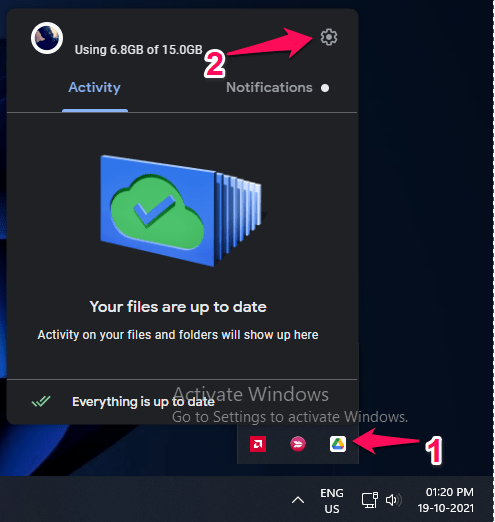
- Click on the Google Drive icon located in the Tray.
- Click on the gear
 icon.
icon.
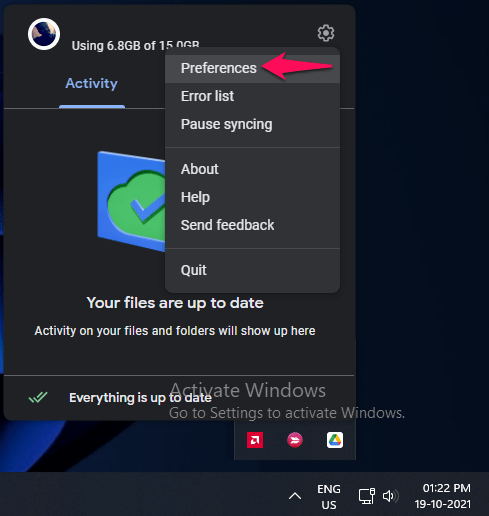
- Choose “Preferences” to view more options.
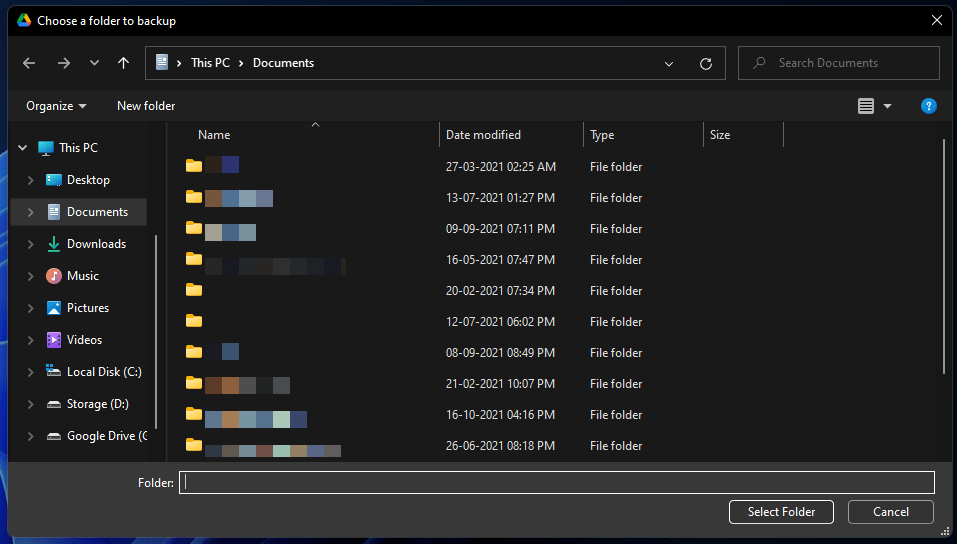
- Click on “My Computer” and then “Add Folder” to proceed further.
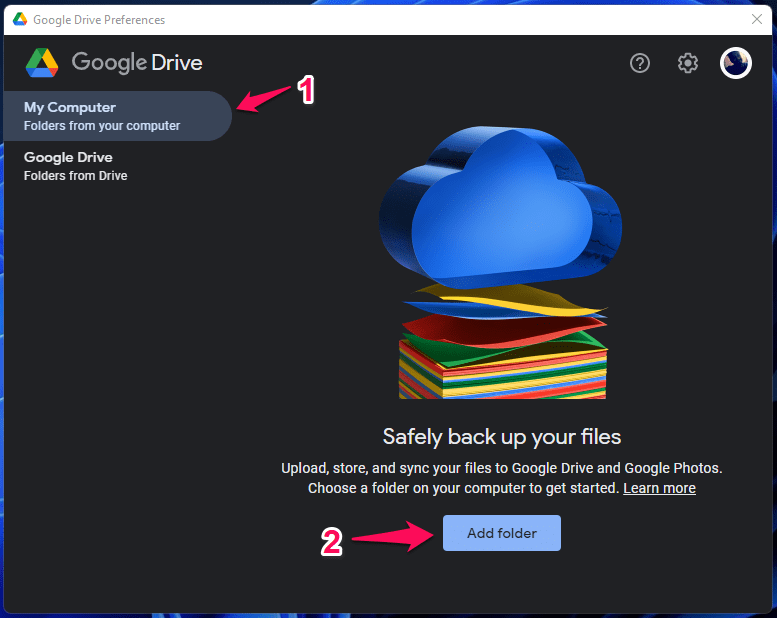
- Choose a Folder with media files to back up to Photos.
- Right-tick the box next to Back up to Google Photos and click Done.
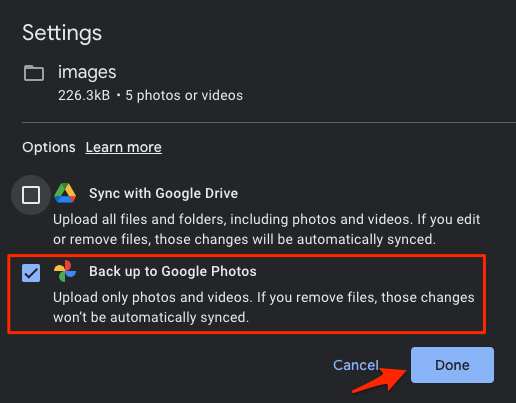
- The Photos and Videos from the selected Windows folder will backup to Google Photos.
Conclusion:
By selectively choosing which folders to back up in Google Photos on your Android device, you can better manage storage space while ensuring that your most precious photos and videos are safely stored in the cloud. This process allows you to prioritize important memories, while excluding less significant files, such as screenshots or downloaded images. Take advantage of Google Photos’ backup customization options to optimize your storage usage and have peace of mind knowing that your cherished memories are protected.