In the realm of messaging apps, iMessage has long been a coveted feature for its seamless integration across Apple devices. However, for Android users, the exclusivity of iMessage has been a distant dream. Until now. Thanks to innovative third-party solutions like Beeper and AirMessage, Android users can now access iMessage without needing a Mac. Let’s delve into how you can leverage these tools to bring the magic of iMessage to your Android device.

How to Use iMessage on Android Using Beeper and AirMessage Without Mac
With Beeper building the Beeper Mini app designed for users to enjoy iMessage’s native chat features on Android at $1.99 per month, there’s a constant tug-of-war between the two companies. Similarly, AirMessage also allows users to send and receive iMessages on Android, Windows, and Linux devices and share media as well. Here’s how to download and use them.
Method 1: Using Beeper
You can use the Beeper that lets you send and receive iMessages to your phone number, not just an email address.
Prerequisites: Before you move forward with the steps, make sure the following prerequisites are fulfilled:
- As it is currently in the beta phase, you must join the waitlist or use an invite code to join and access Beeper.
- Beeper only allows users to create a new account on a PC. If not Mac, you can get a Windows or Linux PC or a Chromebook to get started. We are using a Windows PC for it.
- An active Apple ID. If you do not have it, you can create one here.
1. Once you have access to Beeper, use the link sent to you with the invite code via email to visit the official website and download it on your PC.
2. Install the app, launch it, and select I want to use iMessage on Android or Windows.
3. Enter the referral code. Once you do it, you’ll receive a Recovery code. Copy it, tap on Continue, and paste the recovery code now in the text field to complete the setup process.
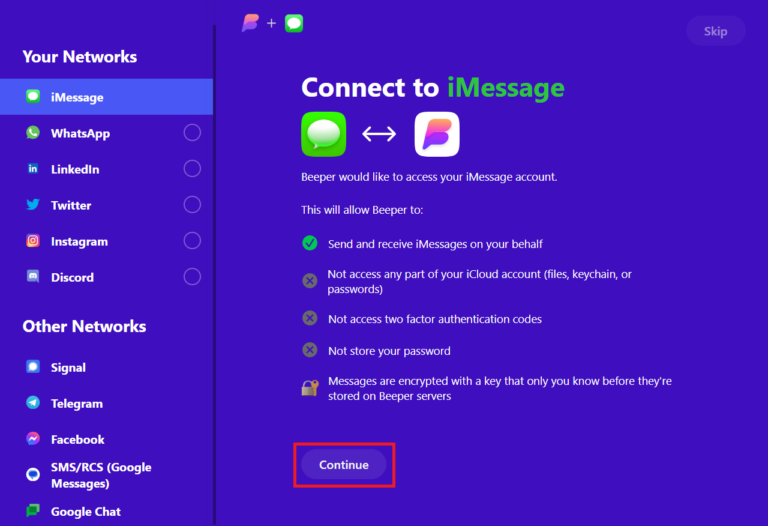
4. In the Connect to iMessage window, click on Continue.
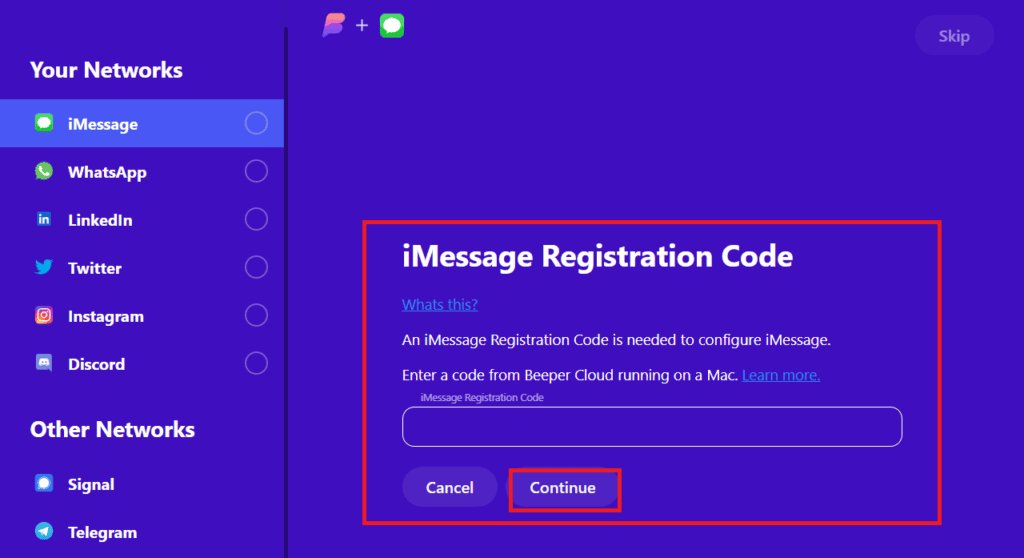
5. You’ll see a text field asking you to enter the iMessage Registration Code, which is only available within the Beeper Desktop app installed on a Mac. Enter it and click on Continue.
[Here’s how you can find the iMessage Registration Code on a Mac- Update Beeper, launch it, and click on the settings icon, go to Chat Networks > iMessage > Reconnect]
6. Follow the on-screen instructions to get done with any other verification process if required.
7. Now enter the Apple ID and password and wait for some time. Enter your 2FA code if prompted.
8. Install the Beeper app for Android from the Google Play Store, enter your Email address, and click on Continue.

9. Click on Enter Verification Code.
10. You’ll get a Verification requested pop-up on the Beeper app on your PC. Click on Yes.

11. Scan the QR code on the desktop app from your phone to verify your identity and it will be done. You’ll be able to see the iMessage service added.
Note: You can also download the Beeper Mini app from the Google Play Store if accessing iMessages is your only requirement. You do not have to join the waitlist and do not necessarily need an Apple ID or a PC. However, it is a paid subscription-based service.
Method 2: Using AirMessage
As we read above Beeper Mini is opting out already, you can even use the AirMessage app as an alternative.
However, you need a Mac PC (macOS 10.10 Yosemite or higher) that can run as a server and it must be connected to the internet at all times. If not, you can even install macOS on a PC without Mac to use AirMessage for iMessages on Android.
1. Download and Install the AirMessage server on your Mac or macOS VM from this link.
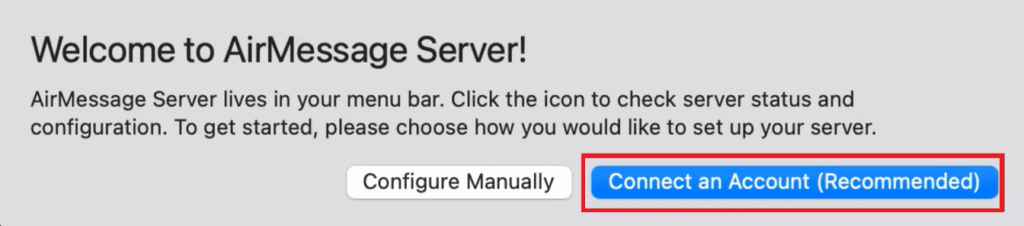
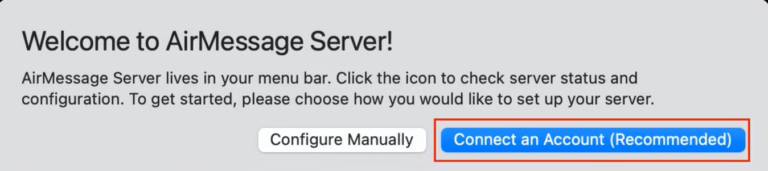
2. Open the app and click on the Connect an Account (Recommended) option.
3. Follow the on-screen instructions to connect your Google account to AirMessage and click on the OK button to finish.
On macOS Mojave 10.14 or later, you’ll need to allow the AirMessage server necessary permissions to access iMessage.
4. Click on OK to allow AirMessage to control Messages, then again on OK to allow it to control System Events.
5. Click on Open System Settings and toggle on the AirMessage option.
Enter the password of your Mac PC if prompted.
6. Click on Open Full Disk Access Settings and toggle on the AirMessage option. Enter your Mac password again if prompted.
7. Click on Quit & Reopen and wait for AirMessage to restart.
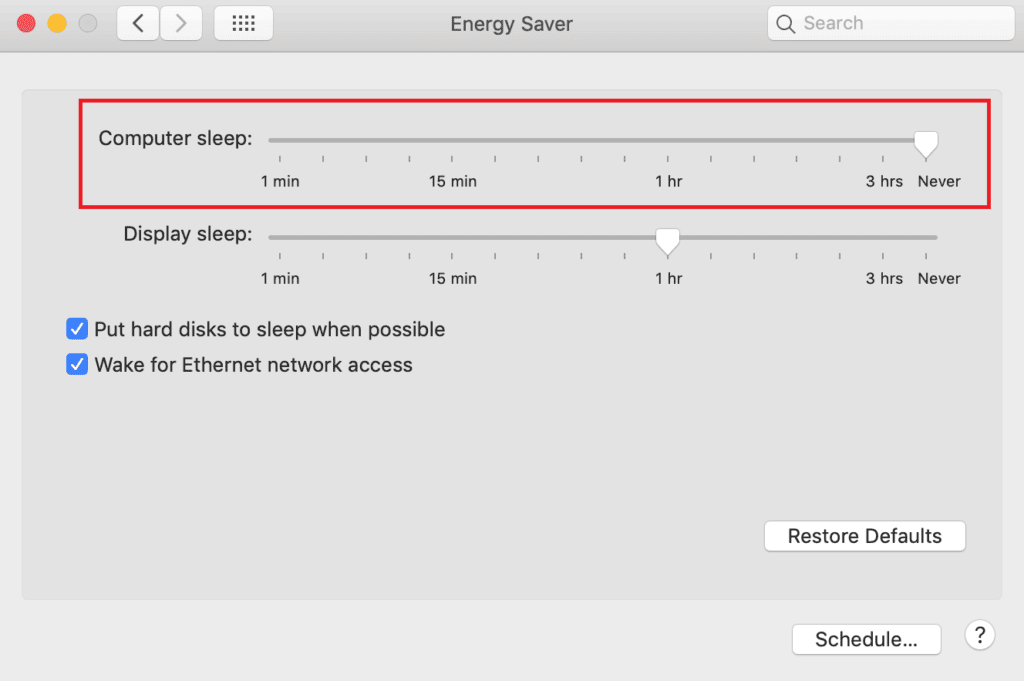
As AirMessage works as a server on the Mac, it needs to stay on to send and receive Messages. Hence, you need to disable sleep settings.
8. Follow the path for macOS Ventura or later: System Settings > Displays; click on Advanced and enable the toggle next to Prevent automatic sleeping when the display is off.
For macOS Monterey or earlier: System Preferences > Energy Saver and drag the Computer sleep timer to Never.
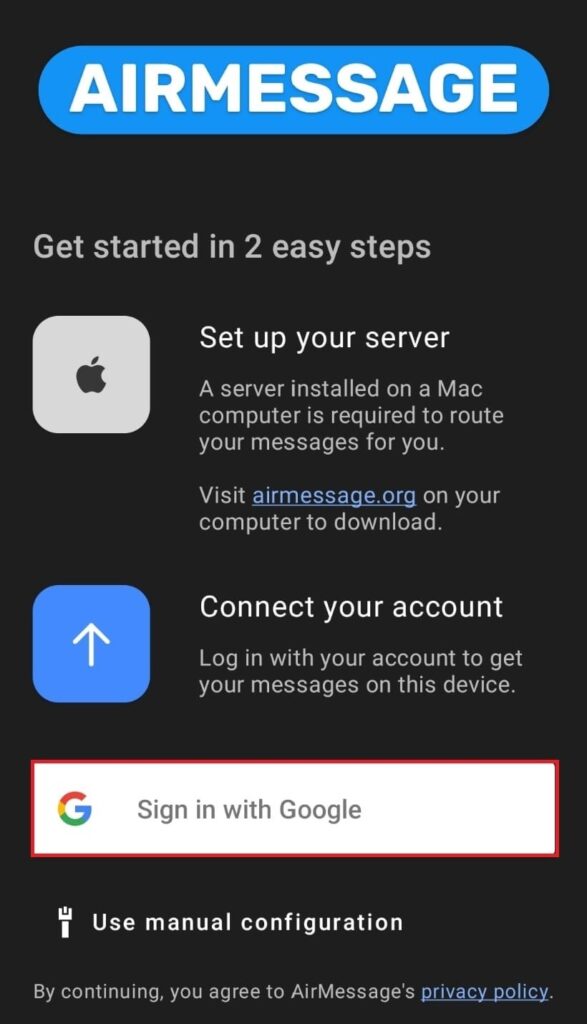
9. Lastly, download the AirMessage app for Android from the Google Play Store.
10. Sign in with Google to your account and you’ll be able to send and receive iMessage.
How to Use iMessage on Android Without an iPad
Directly using iMessage on an Android device without an iPad or a Mac isn’t officially supported by Apple. iMessage is designed to work exclusively within the Apple ecosystem, and Apple has not released an official iMessage app for Android. However, there are third-party solutions that attempt to bridge this gap such as AirMessage and Beeper.
iMessage Hack for Android Download
Currently, there is no direct hack available to use or download iMessage as it is an Apple messaging service and is not officially available for Samsung or any other Android devices.
Is it Safe to Use Third-Party Apps for using iMessage on Android?
Using third-party apps to access iMessage on Android comes with benefits and risks. We do not endorse any such apps/software that offer such services; therefore, use these at your discretion. However, while there are some benefits, here’s a breakdown of cons for you to get some idea:
- Potential threats to data security and privacy always revolve around third-party services.
- Apple has historically tried to block third-party access to iMessage. So, there’s a chance of such services shutting down anytime.
- You might not have access to all the features of the official iMessage app, like end-to-end encryption or certain iMessage effects.
We hope our guide helped you use iMessage on an Android device without a Mac. If you have any queries or suggestions for us, do let us know in the comments section. For more such hacks and tech guides, keep visiting Techcult.
Conclusion
With Beeper and AirMessage, Android users can finally break free from the confines of traditional SMS and access the rich features of iMessage on their devices. Whether you opt for the unified approach of Beeper or the dedicated solution of AirMessage, the steps to setup iMessage on Android are now within reach, even without a Mac. Embrace the seamless integration and enjoy the best of both worlds, regardless of your device preference.